
Rolling trays serve as indispensable tools for enthusiasts seeking a seamless and organized rolling experience. Crafted to enhance convenience and cleanliness, these trays come in various designs, catering to diverse preferences. Creating your rolling tray adds a personal touch to your smoking experience. Here’s a simple guide on how to make a rolling tray on your own even at home.
What are Rolling Trays
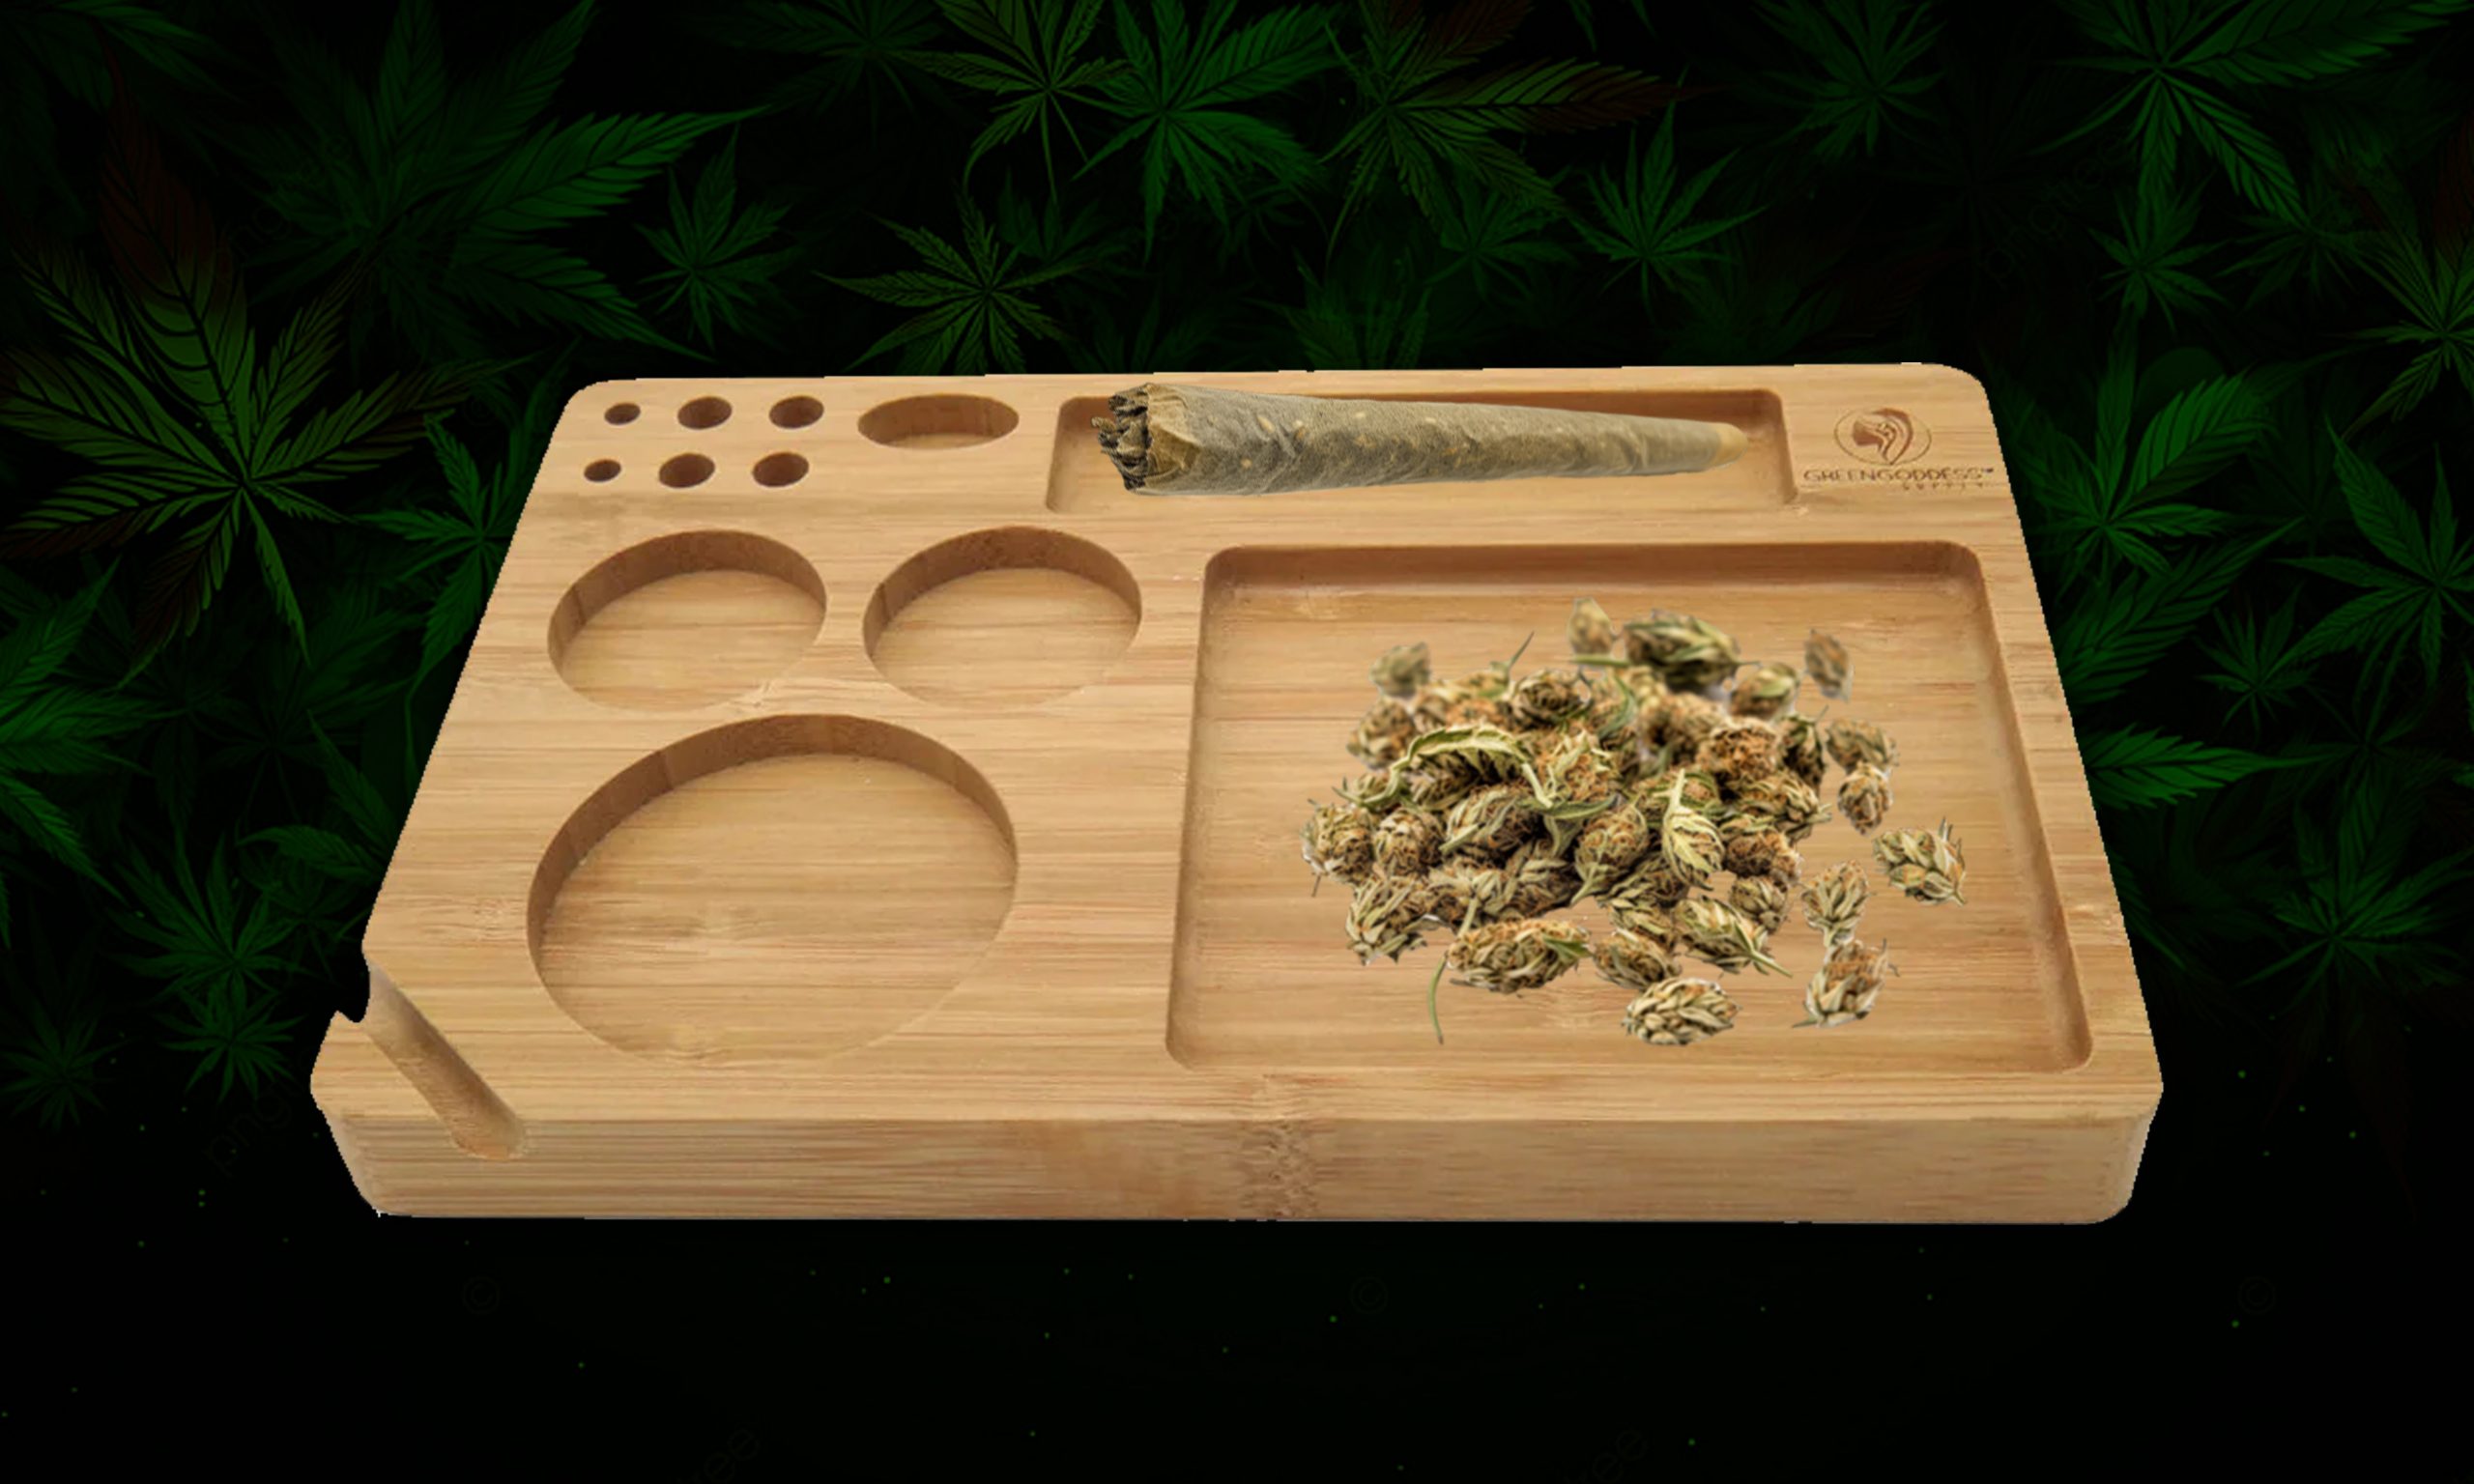
Rolling trays are essential accessories for cannabis users, providing a dedicated surface for rolling joints, packing bowls, or preparing other smoking paraphernalia. They come in various shapes, sizes, and materials, catering to individual preferences and needs. Typically made of metal, wood, or plastic, rolling trays feature raised edges to prevent spillage and keep herbs and tools contained. They often include compartments or sections for organizing papers, lighters, grinders, and other accessories. Rolling trays serve as convenient and portable workspaces, ensuring a tidy and efficient smoking experience while minimizing mess and waste.
Why Rolling Trays Matter

Organization: Rolling trays streamline the rolling process, keeping all essentials in one designated area, and preventing spillage and loss of materials.
Cleanliness: By providing a clean surface, rolling trays minimize mess and residue accumulation, maintaining hygiene during rolling sessions.
Efficiency: With compartments for papers, filters, and herbs, rolling trays facilitate easy access to essentials, optimizing the rolling experience.
Portability: Portable and lightweight, rolling trays are convenient for on-the-go sessions, ensuring a consistent rolling setup wherever you are.
Why Make Your Own Rolling Tray?
Crafting your rolling tray offers several benefits. Firstly, it allows for creative expression, enabling you to design a unique and personalized tray that reflects your taste. Additionally, homemade rolling trays can be more cost-effective than purchasing one from a store, especially if you already have materials readily available at home. Moreover, the process of creating your rolling tray can be an enjoyable and therapeutic experience, offering a sense of satisfaction and accomplishment.
Making Your Own Rolling Tray: A Step-by-Step Guide
Materials Needed:
Base Material: Choose a suitable material for the base of your rolling tray. This could be a simple metal tray, a wooden serving tray, a ceramic plate, or even a piece of sturdy cardboard.
Decorative Paper or Fabric: Select decorative paper, fabric, or adhesive vinyl wrap to cover the base of your tray. Choose a design that resonates with your style and preferences.
Adhesive: You’ll need an adhesive to attach the decorative material to the tray. Mod Podge or clear adhesive works well for paper or fabric, while adhesive spray or double-sided tape may be suitable for vinyl wrap.
Scissors or Craft Knife: You’ll need scissors or a craft knife to cut the decorative material to fit the size of your tray.
Paintbrush (if using Mod Podge): If you’re using Mod Podge or a similar adhesive, a paintbrush will be handy for applying the adhesive smoothly.
Step-by-Step Guide:
Select Your Tray: Obtain a simple metal tray with raised edges. The size of the tray can vary depending on your preferences, but it should provide ample space for rolling and organizing your smoking materials.
Choose Decorative Material: Select decorative paper or fabric that appeals to you. This could be anything from colorful patterns to psychedelic designs or even images of your favorite artists or bands.
Measure and Cut: Measure the interior bottom surface of the tray and cut your chosen material to fit accordingly. Ensure that the material lies flat and covers the entire surface of the tray.
Apply Adhesive: Using a paintbrush, apply a layer of Mod Podge or clear adhesive to the bottom of the tray. Place the decorative material on top and smooth out any wrinkles or air bubbles.
*If you’re using Mod Podge or clear adhesive, apply a thin, even layer to the bottom of the tray using a paintbrush. If you’re using adhesive spray or double-sided tape, follow the manufacturer’s instructions for application.
Seal and Protect: To protect the artwork and create a durable surface, consider applying a coat of clear epoxy resin over the entire artwork. This will add a glossy finish and ensure longevity.
Let It Dry: Allow the adhesive and epoxy resin to dry completely according to the manufacturer’s instructions. Once dry, your homemade rolling tray is ready for use!
Creating your rolling tray is a fun and creative way to enhance your smoking sessions. Whether you opt for a simple design or get creative with patterns and colors, your custom rolling tray will be a unique reflection of your style and personality.
DIY Rolling Trays
DIY Rolling Trays come in various types, each catering to different preferences and needs. Here are some common types of DIY rolling trays:
1. DIY Wooden Rolling Tray
A wooden rolling tray is a specialized surface used by smokers to prepare and roll their smoking materials, such as herbs or tobacco. These trays are typically made from wood and feature raised edges to prevent spillage and keep all the essentials neatly contained. They come in various sizes and designs, catering to different preferences and needs. Wooden rolling trays offer a rustic and natural aesthetic, making them a popular choice among smokers who appreciate craftsmanship and style.
2. DIY Metal Rolling Tray
Glass rolling trays offer a sleek and stylish alternative to traditional rolling trays, providing a smooth surface for preparing herbs and other smoking materials. These trays are often made from durable glass, making them easy to clean and maintain.
3. Acrylic Rolling Trays
Acrylic rolling trays are lightweight and durable, making them ideal for on-the-go use.
They come in various colors and designs, offering a customizable option for DIY projects. DIY acrylic rolling trays can be created by cutting and shaping acrylic sheets to the desired size and shape. These trays are easy to clean and maintain, making them a practical choice for everyday use.
4. Repurposed Rolling Trays
DIY rolling trays can also be created by repurposing everyday items found around the house.
Examples include ceramic plates, wooden cutting boards, or even old picture frames.
Repurposed rolling trays offer a unique and creative option for DIY enthusiasts who enjoy upcycling materials.
5. Multi-Compartment Rolling Trays
Some DIY rolling trays feature multiple compartments or sections for organizing rolling papers, filters, lighters, and other accessories. These trays can be customized with dividers or compartments to suit individual preferences. Multi-compartment rolling trays are practical for keeping all rolling essentials organized and easily accessible.
6. Customized Rolling Trays
DIY rolling trays can be fully customized to reflect personal style and preferences. They can be decorated with stickers, decals, paint, or other embellishments. Customized rolling trays offer a unique and personalized option for expressing creativity and individuality.
*Note: Making your DIY rolling tray is a fun and creative project that allows you to customize a functional accessory for your smoking needs. By following these simple steps and using basic materials, you can create a personalized rolling tray that reflects your style and enhances your smoking experience. Whether you’re rolling joints, packing bowls, or organizing your smoking essentials, your homemade rolling tray will be a unique and cherished addition to your smoking setup.
Conclusion
Overall, rolling trays offer convenience, organization, and efficiency for smokers, making them indispensable tools for anyone who enjoys rolling their cigarettes or joints. Crafting your homemade rolling tray is a fun and creative way to enhance your smoking experience. Whether purchased or crafted, these trays enhance the overall experience, making rolling a breeze. With a personalized touch, they become not just tools but expressions of individuality, adding enjoyment to every session. No matter the type, DIY rolling trays provide a creative and customizable solution for rolling and preparing smoking materials, allowing enthusiasts to tailor their trays to their specific preferences and styles.
Frequently Asked Questions
1. What is a rolling tray?
A rolling tray is a flat, usually rectangular surface used by smokers to prepare and roll tobacco, herbs, or cannabis. It typically features raised edges to prevent spillage and keep all rolling essentials neatly contained.
2. What are rolling trays made of?
Rolling trays can be made from various materials, including metal (such as aluminum or stainless steel), wood, plastic, or glass. Each material offers different aesthetics, durability, and price points to suit individual preferences.
3. How do I clean a rolling tray?
Cleaning a rolling tray is usually straightforward. Depending on the material, you can wipe it down with a damp cloth or rinse it with mild soap and water. For stubborn residue, you can use isopropyl alcohol and a soft-bristled brush. Always ensure the tray is completely dry before using it again.
4. Are rolling trays only for rolling cigarettes or joints?
While rolling trays are primarily used for rolling cigarettes, joints, or blunts, they can also serve other purposes. Some people use rolling trays for packing bowls, organizing smoking accessories, or even as a decorative display piece when not in use.
5. What supplies do I need to make a rolling tray?
To make a rolling tray, you’ll need a base material (such as a metal tray or wooden board), decorative paper or fabric, adhesive (like Mod Podge or clear glue), scissors or a craft knife, and optionally, sealant or epoxy resin for durability. Customize to your preference for a personalized touch.
